When it comes to selling cars online, high-quality photos can make all the difference. Capturing a car’s best features with professional-looking images not only boosts its appeal but also builds buyer confidence. This guide outlines the best practices for photographing cars for sale, ensuring your listing stands out and attracts potential buyers.

Why Quality Photos Matter in Car Sales
Photos are the first impression buyers have of your car. Poor-quality images can deter interest, while clear, well-composed photos help highlight the vehicle’s condition and features. This can:
- Increase buyer trust by showcasing transparency.
- Speed up the sale process by attracting serious buyers.
- Enhance perceived value with professional presentation.
Preparing the Car for Photography

1. Clean the Car Thoroughly
- Wash and wax the exterior.
- Vacuum and detail the interior.
- Clean glass surfaces, rims, and tires.
2. Choose the Right Location
- Opt for a neutral background like a parking lot, empty road, or scenic area.
- Avoid cluttered or distracting backgrounds.
- Ensure the location is well-lit with natural light.
3. Perfect Timing for Lighting
- Shoot during the “golden hour” (early morning or late afternoon) for soft, even lighting.
- Avoid direct sunlight to prevent harsh shadows or reflections.
Essential Exterior Shots to Capture

When photographing the car’s exterior, focus on angles that showcase its condition and design.
Key Shots:
- Front and Rear Straight-On Views: Highlight the vehicle’s symmetry.
- Left and Right 3/4 Angles: Capture a dynamic perspective of the car’s shape.
- Side Profiles: Show the full length of the car on both sides.
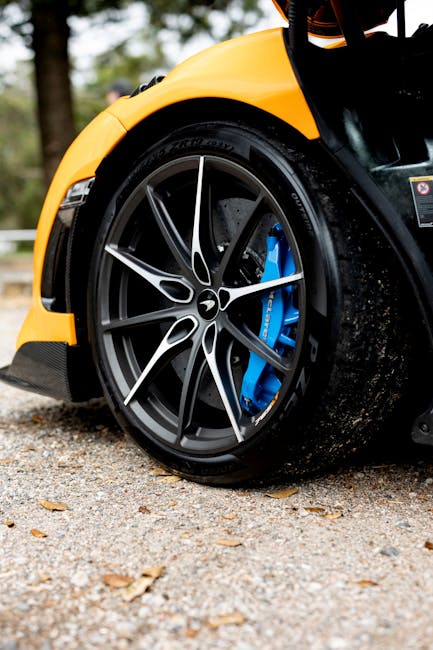
- Detail Shots:
- Close-ups of all four rims.
- Clear images of badges, brand labels, or unique exterior features.
Common Mistakes to Avoid:
- Cutting off parts of the car in the frame.
- Overexposing shots in direct sunlight.
- Failing to clean reflective surfaces, which can show unwanted reflections.
Tips for Exterior Photography:
- Position the car to avoid unwanted reflections.
- Ensure the entire car is within the frame.
- Use a tripod for steady shots if needed.
Capturing the Interior

Interior photos provide buyers with a clear view of the car’s condition and amenities. Highlight both functionality and aesthetics.
Key Interior Shots:
- Dashboard and Cockpit: Centered front view of the dashboard.
- Seats: Show both front and rear seats, emphasizing upholstery condition.
- Mileage: Photograph the odometer to confirm the mileage.
- Details:
- Close-ups of seat controls, speaker grilles, and buttons.
- Instrument cluster, radio, and reverse camera display.
- Functional Areas:
- All four doors, photographed separately.
- Boot space and window regulators.
- Gear shift and steering wheel.
Smartphone Photography Tips:
- Use HDR mode to capture more detail in varying light conditions.
- Turn on grid lines to ensure straight and centered shots.
- Invest in a clip-on wide-angle lens for better interior shots.
Tips for Interior Photography:
- Use natural light to brighten the interior.
- Adjust seats and declutter for a clean appearance.
- Include close-ups of premium features like leather trims or advanced controls.
Advanced Perspectives for Impact
1. Close-Up Shots
- Highlight fine details, such as stitching, control buttons, or unique trims.
2. High Shots
- Take elevated shots to showcase the car’s overall layout and proportions.
3. Detail Shots
- Focus on unique aspects, like custom badges or special equipment.
4. Drone Shots (Optional)
- Use drones for aerial shots of the car in scenic settings, creating a unique and professional impression.
Including a Walkaround Video
A one-minute walkaround video can bring your listing to life, giving buyers a better sense of the car’s condition.
Tips for Shooting a Walkaround Video:
- Start with a slow circle around the car, showing all angles.
- Highlight key features, such as rims, lights, and badges.
- Include brief clips of the interior, focusing on dashboard features and seating.
- Narrate the video to point out features.
- Use a stabilizer or gimbal for smooth footage.
- Record in high resolution (1080p or higher).
Editing and Finalizing Photos

After capturing your images, use editing software to enhance them without misrepresenting the car. Adjustments might include:
- Brightness and Contrast: Ensure clarity and proper exposure.
- Cropping: Frame the car effectively.
- Color Correction: Maintain accurate color representation.
Recommended Tools:
- Adobe Lightroom (Mobile and Desktop).
- Snapseed for quick and easy edits.
- Canva for creating professional-looking photo collages.
Uploading Photos for Maximum Impact
1. Choose the Right File Format
- Use JPEG or PNG for web uploads.
2. Sequence Your Images
- Start with the most appealing exterior shots.
- Follow with interior images and detail shots.
- Conclude with unique features and the walkaround video.
3. Add Descriptions
- Provide captions for each image, e.g., “Close-up of alloy rims” or “Front 3/4 angle.”
Conclusion
Taking high-quality photos of cars for sale is a crucial step in attracting potential buyers. By following this guide’s tips for preparation, photography, and presentation, you can create a compelling listing that showcases your car’s best features and stands out in the marketplace.
For more information, please visit our blog or browse through the cars listed for sale on our website.
FAQs
1. What is the best time to photograph a car?
Early morning or late afternoon (golden hour) provides soft, even lighting for the best results.
2. Do I need professional equipment?
While professional cameras can enhance quality, modern smartphones with good cameras are often sufficient.
3. How many photos should I include in my listing?
Aim for at least 20-30 images to cover all angles and features comprehensively.
4. Should I edit my car photos?
Yes, but only to enhance clarity and exposure—avoid altering the car’s appearance.
5. How can I make my listing stand out?
Use high-quality photos, detailed descriptions, and include a walkaround video for an immersive experience.
6. What if I don’t have access to a good location?
Choose a clean, clutter-free area like a driveway or a nearby park with neutral surroundings.
7. How can I photograph a car on a rainy day?
Wait for a break in the rain and shoot under a carport or use a large umbrella to shield the camera and car. Wipe down wet surfaces for clear shots